Stinger HEIGHT10 Jeep JK Unboxing & Install

An aftermarket stereo most likely isn’t the first thing that comes to mind when considering modifications for overland-based vehicle travel. Lockers, auxiliary fuel tanks, roof racks, rooftop tents, and lighting are more likely to make your list. However, off-road navigation would most likely not be too far down.
Tablets and phones have become common sites mounted to the dash of most overland vehicles, and this is the initial approach that we took and mounted an 8” tablet to the grab handle on the dash of our Jeep JK but removed it after only a couple of trips. An 8” tablet isn’t that much larger than most standard phones today and becomes even smaller when mounted on the other side of the vehicle. Mounting an additional screen also took up limited real estate in the already tight confines of the Jeep cabin. Mounting a tablet, phone, Inreach, and sPOD screen in and around the windshield can get crowded and stops you from being able to focus on the road. Some overland vehicles we have seen have so many electronics mounted on the dash that they look more like a display at an electronics store. The last thing you need you need when driving is another distraction.
What if there was another way? What if you could replace your stereo with a 10” touchscreen to control your radio, satellite radio, and phone and access many phone capabilities through Android Auto or CarPlay? What if you could access many of your vehicle systems, including vehicle gauges, pitch & roll, GPS coordinates, compass, vehicle drivetrain, engine and transmission temperatures, and more? Now there is; the Stinger HEIGHT 10” Replacement Stereo for many vehicle applications, including the Jeep JK.
The centerpiece is, as you would expect, the 10” beautiful touchscreen that provides you easy access to all functions. Basic stereo is included, and Sirius XM Satellite radio is available, assuming you supply the necessary satellite signal. Bluetooth phone connectivity allows you access to both music and phone calls wirelessly. The HEIGHT10 provides inputs for up to four cameras and can leverage the OEM backup camera if installed. The four inputs would allow you to run front, rear, and blind-spot side cameras from the standard interface. The integration kit retains all OEM functions, including steering wheel controls.
The unit also includes built-in offline navigation with the separate purchase of the GPS MicroSD card from iGo. While we primarily use Google Maps on our phones for navigation, we purchased the iGo card for $179. This is important to decide on beforehand because, during installation, the card needs to be inserted in the rear of the unit. The card has already come in handy for us as it allows us to access navigation when we don’t have a cellular signal, and Google Maps isn’t working fully.
The Jeep JKs, JLs, and Gladiators, the HEIGHT10 is available in both flush mount and floating versions. We went with the flush mount version, which provides a full surround and gives the unit a more blended appearance with the dash. The finish is solid, and the final product almost looks OEM. The designers did a top-notch job.

This is all fantastic, but what really drove our decision was the ability to run Android Auto and Apple CarPlay. We can now run offroad navigation applications like GAIA and ONX Offroad right from the main screen and control it through touch. Our primary app is GAIA, but we occasionally combine it with ONX. We can report that we have used GAIA multiple times successfully without issue via Android Auto and are extremely happy with the results.
The real innovation though is the new CH1AJKIT vehicle integration kit for vehicles equipped with the HEIGHT 10 and PAC SR-JK11H installation kit. This system integrates directly into your Jeep and provides access to many onboard electronic systems. For Rubicon models, you can view tire angle, transfer case, sway bar, and locker settings. You can access pitch and roll gauges for offroad safety and performance. The integration also allows you the ability to monitor many diagnostics that you wouldn’t normally have access to, including battery voltage, coolant level, intake air temps, barometric pressure, oil and transmission temps, engine calc load, fuel pressure, and much more right from the dash without any additional tools. You can choose any combination to display up to eight at one time per screen. SEMA awarded This solution 1st place in the Best New Mobile Electronics Product 2023 category.

We completed the installation ourselves after receiving all of the components from Stinger; RB10JK11B Jeep Wrangler JK (2011-2018) Flush-Mount Radio Replacement Kit - Includes 10-inch Touchscreen Radio & Plug-and-Play Installation ($1,349), CH1AJKIT Vehicle Integration Upgrade Kit ($349), iGo GPS MicroSD ($179), and the Echomaster Backup Camera for the Jeep JK EM-JP-CAM ($79).

The components came well-packaged and clearly labeled. I am happy to report that everything arrived in perfect condition, which isn’t always a given.

All the included components in the HEIGHT10 stereo and Installation Kit Boxes

All of the additional components that are added with the CH1AJKIT Vehicle Integration Upgrade Kit

Components included with the Echomaster Rearview Camera
As you can imagine, the first step after laying out all of the parts and reading the directions is deconstruction. You start by removing the dash panel that extends from the instrument cluster all the way around the radio. You also have to remove the panel under it that surrounds the climate control functions to access the cigarette lighter, as you need to replace it with the provided dual USB port. Along with providing charging capabilities, one of the slots is the wired integration for Android Auto or Apple CarPlay. Which one depends on which way you install the plug. We had previously replaced our cigarette lighter with a dual USB from Blue Sea Systems that we relocated to the adjacent panel. So we now have four charging ports that allow us to charge our phones, cameras, and other electronic devices.

The dash of our Jeep prior to deconstruction
Next, you remove all of the old radio components and are left with vacant space in the middle of the dash and a few connections awaiting their new mates. The HEIGHT10 comes in multiple components. The main control unit is installed in place of the stock radio, and the screen is attached before the final installation.

The first step is disassembly and removal of the stock head unit
The next step is connecting all of the wires. While not overly difficult, it does take some time. The process is complicated by the addition of the Vehicle Integration kit. Overall the directions are relatively clear and straightforward. However, it is clear that the directions are written assuming that you have already installed the HEIGHT10 and are now upgrading with the Integration Kit. So you basically need to follow this approach, connecting the HEIGHT10 as you would out of the box and then adding the Integration Kit. This process does require some rework, but it is the easiest way that we found. It was good to have a second set of eyes helping me as you begin to get a little cross-eyed after a while, as there are quite a few wires.

The installation process requires the connection of a multitude of wires. Most are clearly marked, which makes installation easier. It does get confusing when you install the The HEIGHT10 and vehicle integration kit simultaneously, as the instructions are written for installing the integration kit with an already installed radio unit. It is no easy task to fit this rats nest of wires behind the radio either
This is where you need to connect your cameras if you are going to be using them. At this point, we are just going to be utilizing the rearview camera that we purchased. There are RCA inputs for up to four cameras and power and ground leads that act as triggers. From there you run the cable to the rear of the vehicle and mount your camera, prior to completing the installation, you need to go into vehicle settings, installer settings, then advanced vehicle settings, camera settings, and name and enable to cameras. You won’t be able to access them until this step is complete. You will need to use password 0052 to access the installer settings.
One challenge that we did run into was around Sirius XM. Our Jeep came with a Satellite radio installed from the factory. We assumed that we would be able to plug our existing Sirius antenna into the HEIGHT 10, but the connections were completely different. After a call to Stinger, we learned that you need to access the SiriusXM Connect SXV300 Vehicle Tuner to connect them. They also told me it was stated in the directions but isn’t overly clear. According to their website and the directions “(allows you to retain factory-installed SiriusXM antenna, tuner sold separately: SXV300V1)”. This is one of the few aspects of the product and installation we had an issue with. We have a satellite antenna. The HEIGHT10 claims that SiriusXM capability is standard.
We should have been able to plug the antenna into the HEIGHT10 and call it a day. Why did we have to buy another product? Since we were mid-project and it is our daily vehicle, we had to finish the installation for now and then disassemble again and finish once the product arrived.
The included satellite radio connection on the HEIGHT10 does not fit the OEM Jeep satellite radio antenna

You need to purchase the SXV300 Vehicle Tuner, sold separately, in order to run satellite radio with the HEIGHT10

The included satelite antenna included with the SXV300 plugs into the tuner, the tuner then plugs into the HEIGHT10 satellite cable
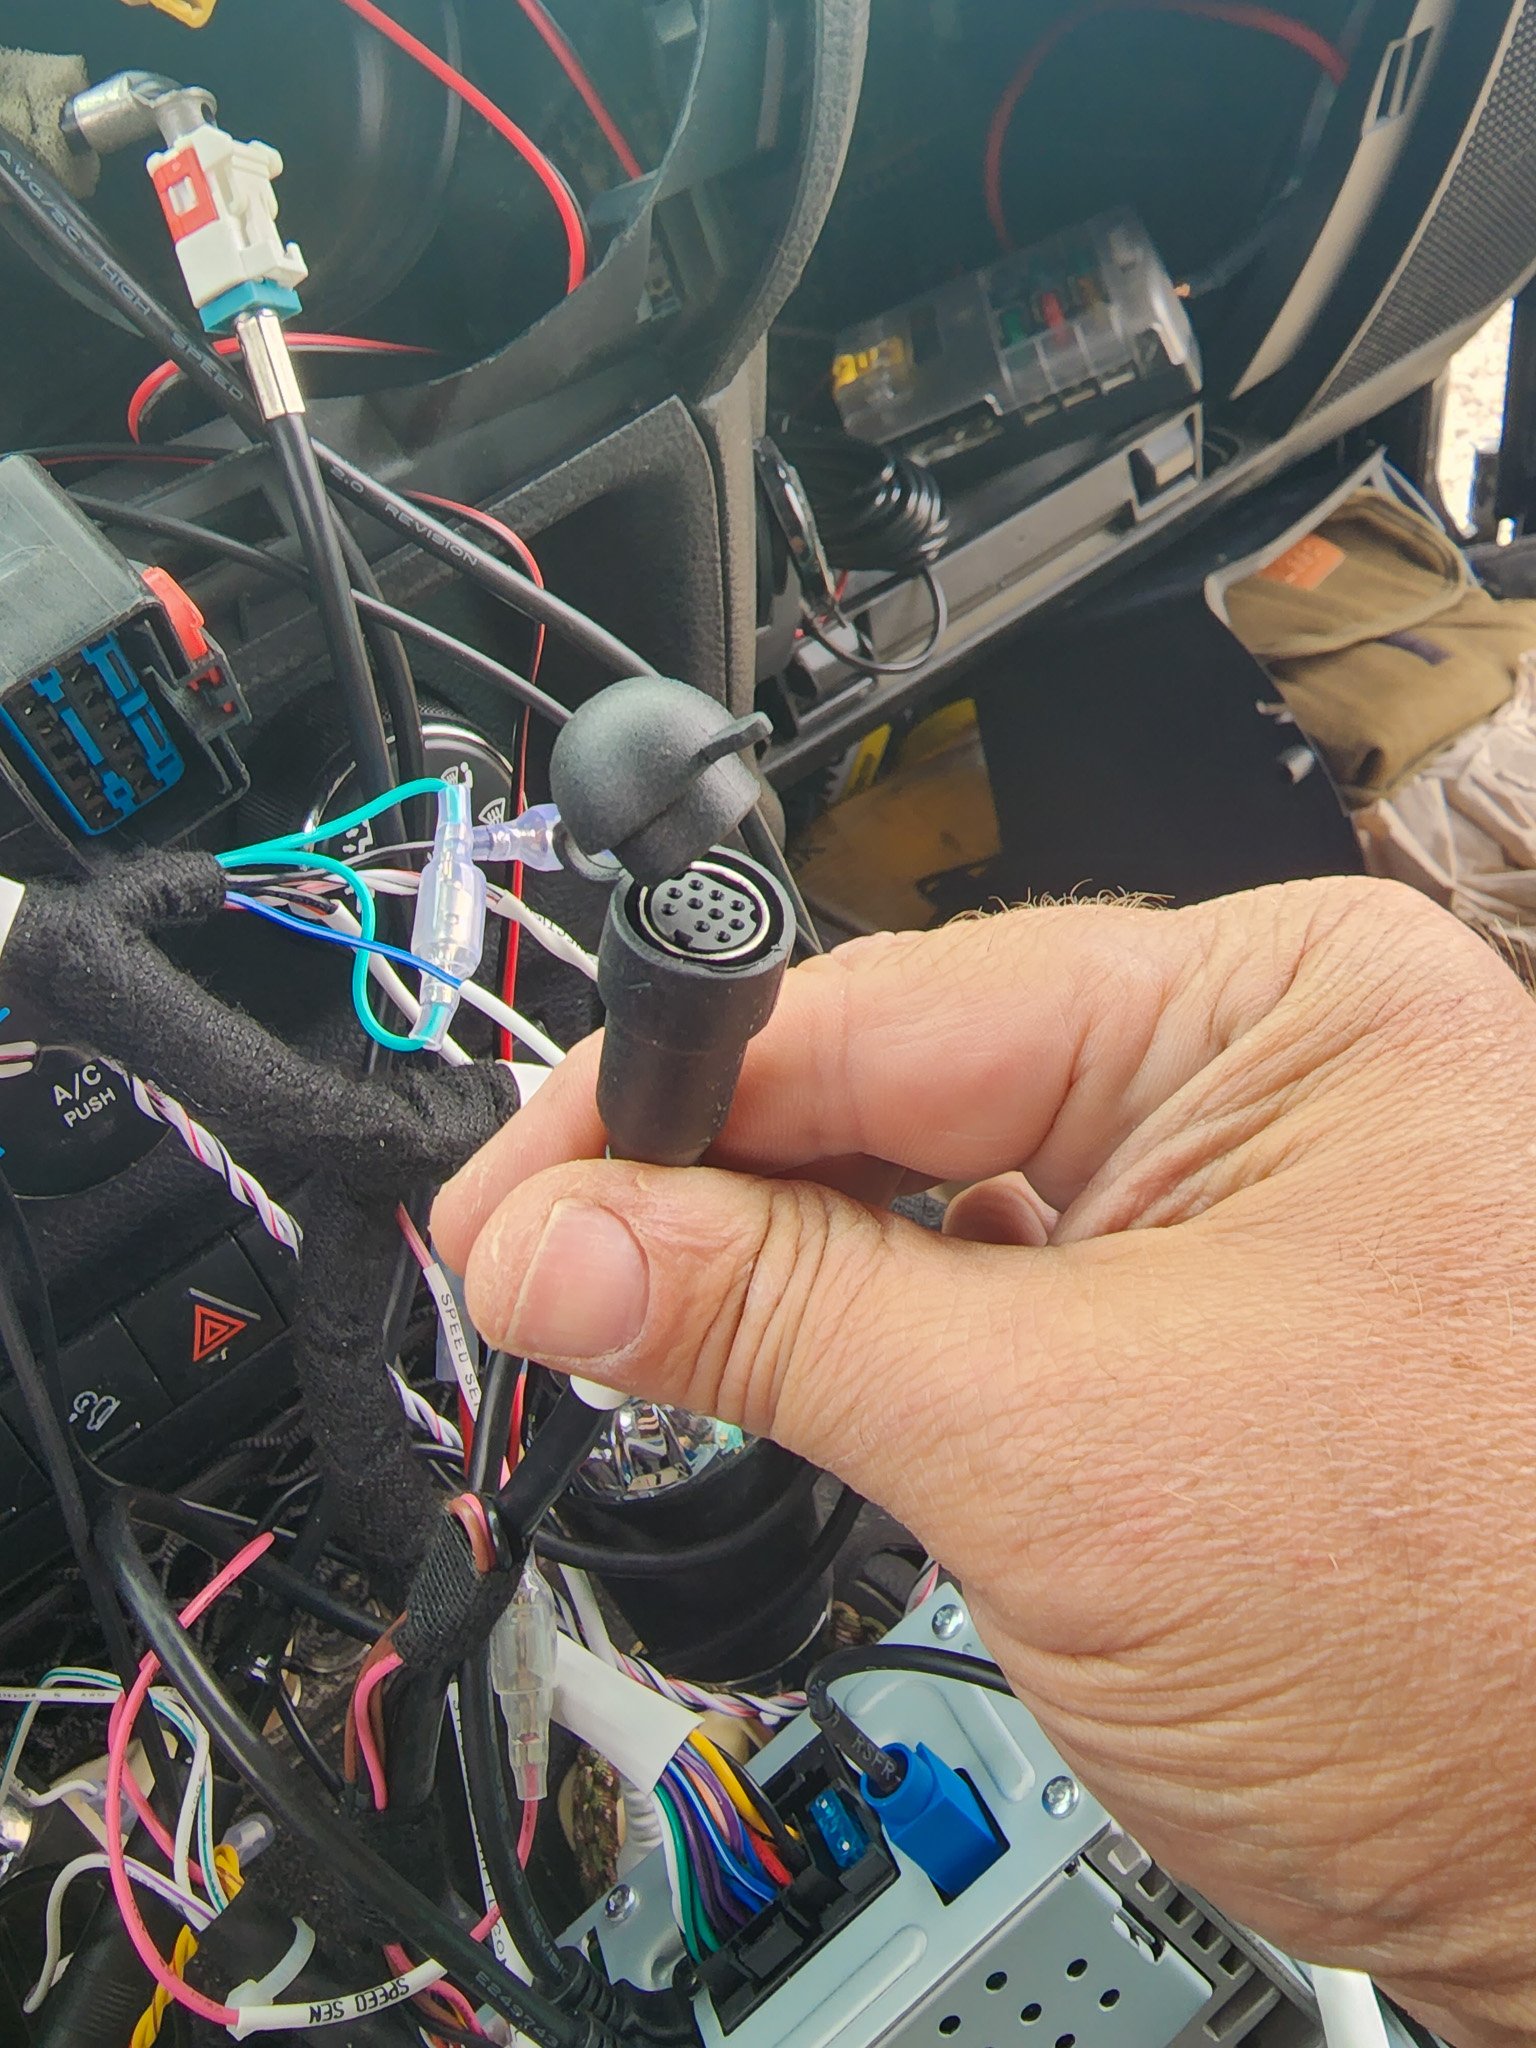
One additional item that wasn’t overly clear, was the cable that connects to the vehicle systems under the steering wheel. As written, it looks like you have to use just one side of the vehicle plug, depending on the year of your vehicle. When we did that, the dash would light up like a Christmas tree, and one side wouldn’t start. After another discussion with Stinger, we determined that both sides must be connected to the new plugs. After that, it took a few minutes but returned to normal.

The two PAC-LINK units attach to the HEIGHT10 control box before installation back into the dash
Once all of your connections are made, and you are ready to proceed with the installation, you mount the two PAC units to the front and top of the control box, respectively. These units control the integrations with your vehicle for access to steering wheel functions and vehicle systems. From there, the fun begins, and you have to fit all the wiring behind the unit and still get it to fit. This gets further complicated when you add the SiriusXM tuner box. There is a lot to stuff, but it can be done.

The HEIGHT10 control unit is then installed in the OEM stock radio location. The two cables that run to the display are the only remaining exposed components. In the bottom right you can see the newly installed included dual USB port that also controls Android Auto and Carplay
Once installed, all that remains are the two cables that connect to the screen. You are now ready to install the dash before you mount the screen. However, we highly recommend that you connect the cables and test the system before you install the dash, saving you from having to remove it again if there is an issue.
We have been using the unit since early February and couldn’t be happier or more impressed. The unit has worked flawlessly. The built-in navigation system has worked well and has come in handy when we needed directions and didn’t have a cell signal. Android Auto has worked well, and we have primarily used it to run Google Maps, Spotify, and GAIA. We have had issues with GAIA, where the app hangs or stops showing your recorded track. I believe that this is more of an issue with GAIA than with the HEIGHT10. Once we realized that you must go into the installer settings and enable cameras, our rear camera worked without a hitch. The SiriusXM function also has Compatibility with Replay so that you can pause, rewind and replay up to 60 minutes of live SiriusXM content. We are still troubleshooting some issues with SiriusXM, as the reception is perfect when stationary but is spotty when in motion.
The first thing you notice when you power on the HEIGHT10, as you would expect, is the 10-inch 1024 x 600 HD digital capacitive touchscreen with 16.7 million colors, which is fantastic. The overall interface is picture clear, and the icons and large and easy to read. The touchscreen has worked flawlessly and is easy to use even when driving. The steering wheel controls have also worked without issue.
I have to say that one thing that I was surprised by was the sound quality, which is superb. I have a background in Competition Car Audio and can attest to the audio performance of the HEIGHT10. While I wouldn’t call it audiophile quality, the quality of sound it produces is fantastic, and further still, the HEIGHT10 provides you with tremendous control. The built-in 15-band adjustable EQ with presets lets you fine-tune your settings for different music or media types. It also includes built-in time alignment, which allows you to compensate for the distance of each speaker from the listener’s ears. Even with the competition-level systems I had in the past, I never had this level of control. We haven’t touched any of the controls yet, and the sound quality, out of the box, is superb.

Additionally, I wasn’t expecting as much boost in power from the 4 x 50w peak built-in amplifier. Combined, you get an audio experience that is a pleasure to listen to.
We could not be happier with our purchase and cannot recommend it enough. We only have one small gripe. The screen is so large that it provides tremendous light that can impact nighttime visibility. The unit allows you to adjust the illumination level, but it is often too bright even at its lowest setting. The unit allows you to turn off the display while still running, which is how we go in most cases when not using GPS. and traveling at night.